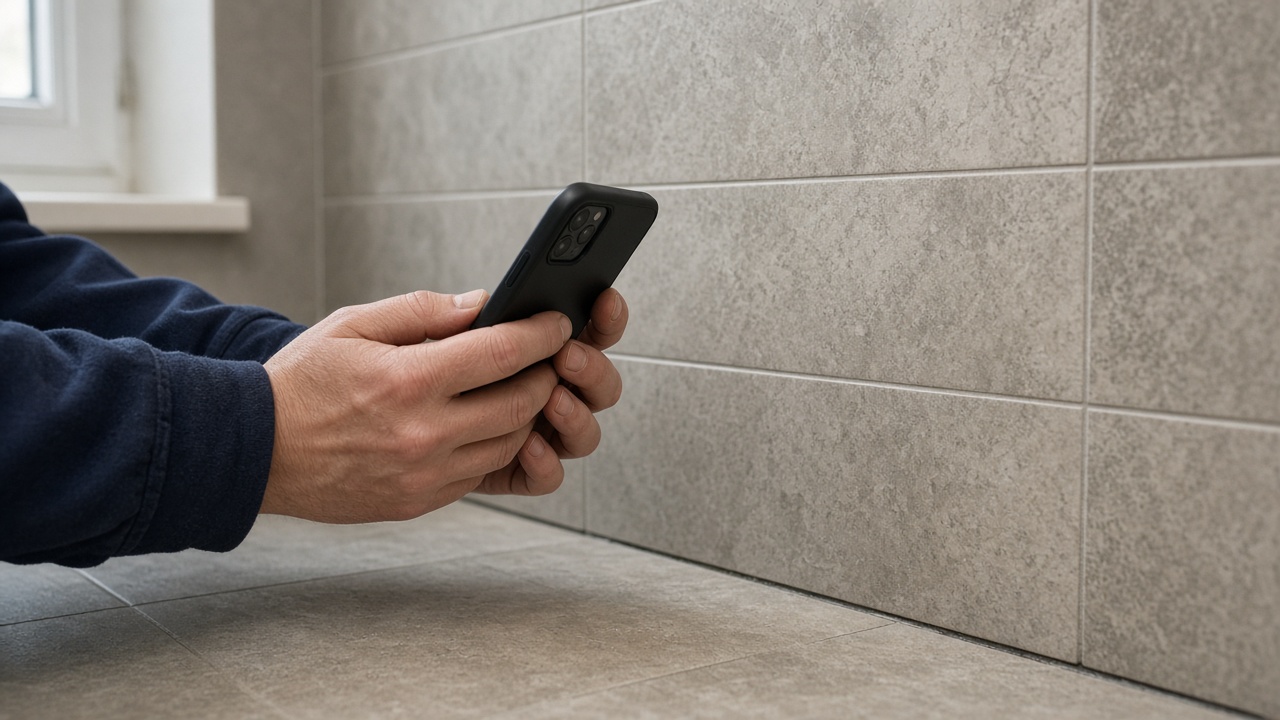
Why Clear Photos Matter for Your Trade Work
Clients and insurers need to see what’s been done. A blurry or poorly lit photo doesn’t prove completion. Better photos reduce disputes, speed up payments, and build trust. You don’t need a camera — just your phone, a few minutes, and these steps.
Set Up for Success: Lighting and Positioning
Natural light is your best tool. Avoid flash — it creates harsh shadows and overexposes details. Take photos near a window or outside during daylight. For indoor jobs, face the light source; don’t have it behind you.
- For plumbing or electrical work, position the phone so light hits the surface evenly.
- In a bathroom, open the window or turn on overhead lights. Avoid using only the vanity light — it casts shadows.
- If working at dusk, use a phone’s manual mode (if available) to adjust exposure. Don’t rely on auto.
Frame the Job Right: Before, After, and Detail Shots
Show the full job, then zoom in on key areas. Use a consistent angle — ideally straight-on, not tilted. This helps clients compare before and after.
- Before: Capture the state before work. Show wear, damage, or disrepair. Use the same angle as the after shot.
- After: Focus on the finished result. Include visible improvements — e.g., a smooth floor, sealed joint, or clean surface.
- Detail: Zoom in on craftsmanship. A close-up of a tiled edge, a properly fixed bracket, or a neatly painted corner shows care.
Avoid cluttered backgrounds. Tidy the area first — remove tools, packaging, or debris. A clean shot focuses attention on the work.
Phone Camera Tips That Actually Work
Your phone’s camera is capable. Use these settings:
- Tap the screen to focus on the key area. Hold the phone steady for 2 seconds to lock focus.
- Use the grid overlay (in settings) to align lines — e.g., a level floor or straight wall.
- Don’t zoom digitally — it reduces quality. Step closer instead.
- If available, use ‘Pro’ mode to adjust brightness and white balance. Set to ‘Daylight’ for outdoor shots.
Avoid using the flash. It washes out detail and creates hotspots. For dark corners (e.g., under a sink), use a small LED penlight or phone flashlight — hold it at an angle, not directly on the surface.
Common Mistakes to Avoid
- Overhead shots: These hide depth and make small jobs look bigger. Use eye-level or slightly above.
- Blurry images: Hold the phone steady. Use both hands. Tap to focus before pressing the shutter.
- Too many photos: Send 3–5 clear shots per job. Too many confuse the client.
- No context: A detail shot of a pipe joint means nothing without a wider shot showing where it is.
How This Helps Your Business
Clear photos reduce back-and-forth, delays, and payment disputes. Clients trust you more when they can see exactly what you’ve done. Use these photos in your portfolio, on social media, or in job summaries. They’re also useful for insurance claims or warranty records.
When you post proof of work, you’re not just documenting — you’re marketing. A few well-taken shots can win repeat work.
ASkU connects trades with local customers seeking reliable, transparent service. When you share clear, honest photos of your work, you build credibility — and attract more jobs through trusted platforms.
Use your phone. Use light. Show the difference. That’s how you take better photos of your work.